DIY Little Blue Truck Costume

DIY Little Blue Truck Costume

Materials Needed:

Large Cardboard Box (approx 27x15x16”)

Duct Tape - Blue, White, Black, Silver

Hot Glue & Glue Gun, Sharpie

Optional: 2” Paint Brush

Light Grey, Mid-Grey, and Light Blue Acrylic Paint

This costume is SUPER CUTE - and you can do as little detail or much as you’d like. Absolutely customizable.

DRAW then CUT - ANGLE for TRUCK FRONT. Rounded TOP part. And FLAT truck bed.

KEEP SIDE FLAPS attached.

SCORE (gently slit) where you want the box to crease and fold.

To ROUND near the TRUCK TOP - SCORE A FEW LINES, which helps the box to round more easily. Do both FRONT & BACK of costume.

TAPE into place.

Here’s where we’re at. Sometimes just a bunch of photos help to check in. :)

DRAW 4x4” squares in TOP CORNERS of FRONT of box,

DRAW DIAGONAL LINES back to windshield corners. ON SIDE of VEHICLE - you DRAW STRAIGHT DOWN from WINDSHEILD — AND STRAIGHT BACK from BOTTOM of SQUARE.

CUT ALL LINES.

Use TRIANGLE from TOP OF HOOD - and tape it in to place as shown. (I found it fit perfectly if I tucked it in place from inside the box.)

This is hardest part, in my opinion. If you conquered that — you’re golden! :)

CUT off bottom flaps of box - about an inch below crease.

USE FLAP to trace, then FILL IN OPENINGS on both sides of TUCK HOOD.

TAPE in to PLACE.

ADD a little THICKNESS to EDGE OF TOP.

WIDEN HOLE and round edges in FRONT.

TAPE all in to place.

COVER with BLUE DUCT TAPE. I prefer 3M brand - it tears easily, straight, and goes on very smooth. Just FYI.

TRACE DUCT TAPE ROLLS for the eyes. Cover in WHITE TAPE and SUPER GLUE into place.

DRAW PUPILS on eyes with a SHARPIE.

TRACE a SMALL DINNER PLATE for the 4 WHEELS, COVER with BLACK TAPE, and HOT GLUE (or tape) into place.

USE EXACTO KNIFE to cut out details.

CUT FRONT SHAPES, COVER with TAPE, HOT GLUE into place.

CUT PICKLE-TYPE SHAPES to cover TOP EDGE of FRONT WHEELS. GLUE into place. (Also, see image below.)

DRY BRUSH PAINT onto costume. First, hardly put any paint on brush - and “dry brush” or rub paint onto white windows and eyes.

Use DARKER GREY for just a few swipes on WINDOWS and EYES as well.

Lastly, DRY BRUSH LIGHT BLUE onto Little Blue Truck’s body. If you make a mistake or put too much on - simply wipe off with wet wipe - and try again.

AND THERE YOU GO!! Cheers, congrats — BEEP BEEP BEEP!! :)

DIY Mario Kart Costume

DIY Mario Kart Kids’ Costume

Cardboard Box

Duct Tape:L White, Black, Red, Yellow, Silver, Teal

Exactly Knife

Small Solo Cups

Optional: Felt

Hot Glue Gun & Glue

DIY Tractor Cardboard & Duct Tape Kids Costume

DIY Tractor Kids / Toddler Costume

Materials Needed:

Green, Black, Yellow Duct Tape

Exacto Knife

Cardboard Box (2)

Optional Materials:

Small Plastic Cups

Red, Orange Duct Tape

Green, Yellow Felt

If your kiddo is in to Tractors or Trucks - theyre going to love it. For Halloween - or just playing on a random Tuesday morning.

First, CUT bottom FLAPS off the box.

Then cut a RETANGULAR HOLE in the top of the box for your kid to go through.

Next TRACE your BIGGEST POPCORN BOWL and another smaller-sized MIXING BOWL for wheels.

PLACE WHEELS in position, then TRACE & CUT around them,

Use cut piece to TRACE & CUT other side of costume.

The half circles anchor the wheels to main costume, and give you a place to SECURE the wheels in place later.

Cover costume with GReen duct tape.

Just to save you a trip or two — Home Depot carries RED, BLUE, YELLOW, WHITE, BLACK, & GREY in store.

I’ve found smaller places like TRUE VALUE carry GREEN, ORANGE, and more options. Otherwise MICHAELS or ONLINE are good options too.

COVER FRONT WHEEL with black duct tape. Tape into position on costume.

OPTION: You could simply cover both wheels just as they are - and you get a super cute, EASY COSTUME. If you’re crazy, like me - you might add a bit more dimension. See below.

Place SMALL CUPS ONTO WHEEL, securing some with tape, and the CUT CARBOARD STRIP same height as cups.

CUT SMALL SLITS into the cardboard, which makes it easier to BEND AROUND CIRCLE.

TAPE IN PLACE. Add cover to wheel. TAPE ENTIRE WHEEL with BLACK DUCT TAPE.

To attach back wheels I first ROLLED TAPE, then simply OVERLAYED BLACK TAPE from wheel to box.

Then COVER OVERLAYING BLACK TAPE with GREEN TAPE, so it matches tractor again.

Use the LONG FLAP you cut from BOTTOM OF BOX for straps. It’s usually the perfect length. 16-20inches.

COVER with YELLOW DUCT TAPE and then SECURE WITH DUCT TAPE inside the box.

To make DUCT TAPE DETAILING, simply LAY TAPE where you’d like detail. Then USE AN EXACTO KNIFE to CUT SHAPE.

Next, PEEL BACK unwanted tape surround. And you have your detail. Like magic.

I had some random green FELT SCRAPS laying around - so I CUT SHAPES and GLUED on with HOT GLUE GUN.

I also added YELLOW CIRCLES with resemble BOLTS around the BACK WHEELS. For fun.

Good luck making! If you think of it - I’d love LOVE to see your finished costumes! Send them my way!

Cheers & best,

EM

DIY Backhoe / Digger Cardboard & Duct Tape Costume

DIY Backhoe Costume

Duct tape - 2 yellow rolls, 1 black roll.

Two Pampers Diaper boxes (or equivalent).

One Huggies Wipes box (or equivalent).

Utility Knife.

(Optional) - Felt / reflective stickers / embellishments.

Want to make costumes - but despise the influx of random craft supplies?! Get this — duct tape and cardboard. Any extra is recyclable or useful! :)

PAMPERS BOX ONE - Cut off bottom flaps. Cut rectangular hole for your kid.

PAMPERS BOX 2 - Turn on side, then cut front digger shape. Use remainder of box for 4 dinner-plate-sized wheels.

To ATTACH FRONT DOZER part — you have two options.

OPTION 1: Doesn’t move. Tape rolls between scoop and main costume box - then tape long strips along bottom. OPTION 2: Tape acts like a hinge. Tape along bottom, then a V shape between.

HUGGIES BOX - This will be the arm and scooper. Draw, then cut blue lines. Flip and repeat. Then overlap slightly so the angle is less than 90 degrees and tape.

EXCESS PIECE OF HUGGIES BOX - Cut angles as shown. Then tape in place, as the scoop, at the end of the arm.

TO ATTACH SCOOP - cut flap into back of arm. Cut same size slit into box. Send flap through. Fold over and tape into place. Makes things super secure - so it’ll last until Halloween and beyond!

STRAPS —- Use flaps cut from bottom of Pamper’s box. Cover with yellow tape. Cut thin duct tape about 1/3 or regular width and wrap to make stripes.

COVER EVERYTHING W/ DUCT TAPE. Yellow is slightly see-through, so two layers works — OR……

FELT —- I had random felt pieces and strategically hot glued them to cover up the see-through portions of the box. Added fun, colorful details to wheels, controls, played around.

REFLECTIVE TAPE —- I found reflective adhesives at The Home Depot. Just a fun, more realistic detail on the costume - and adds a bit of safety as well.

If you’re looking for more truck costume ideas — check out my collaboration with The Home Depot. LOTS of variations of colors and trucks there. (Link in my blog.) CHEERS ALL! -E

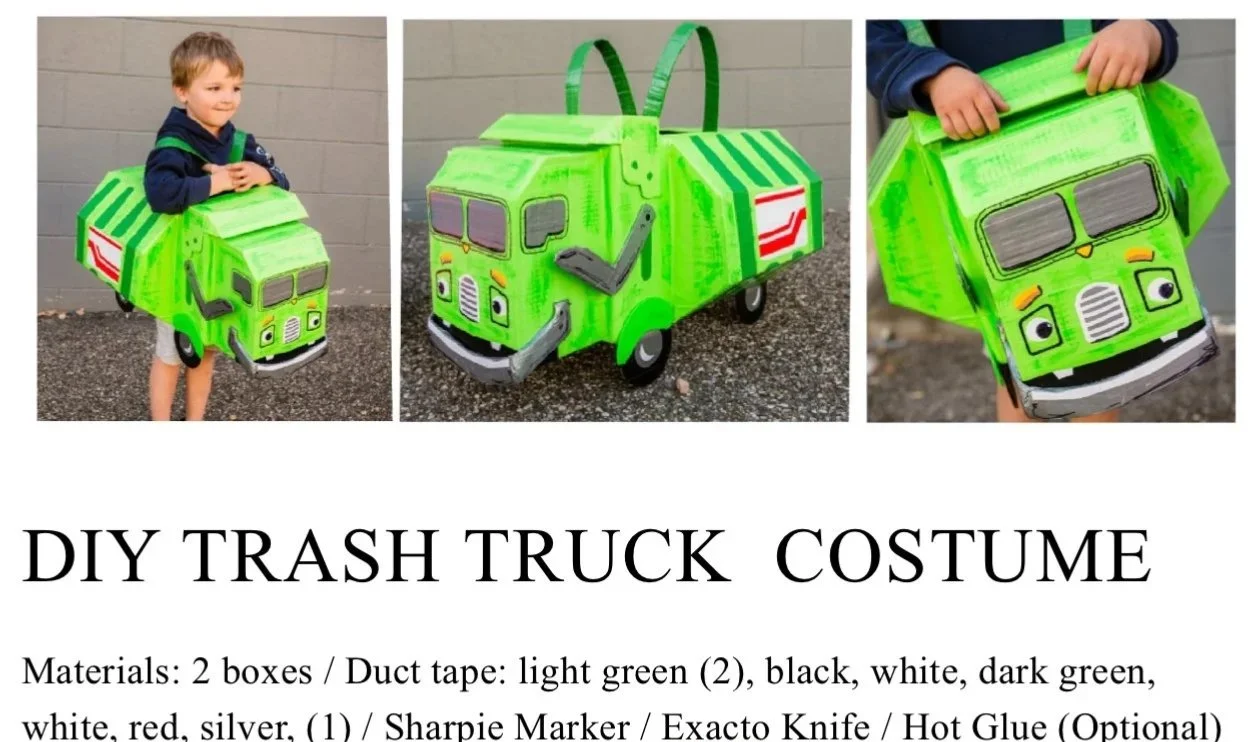
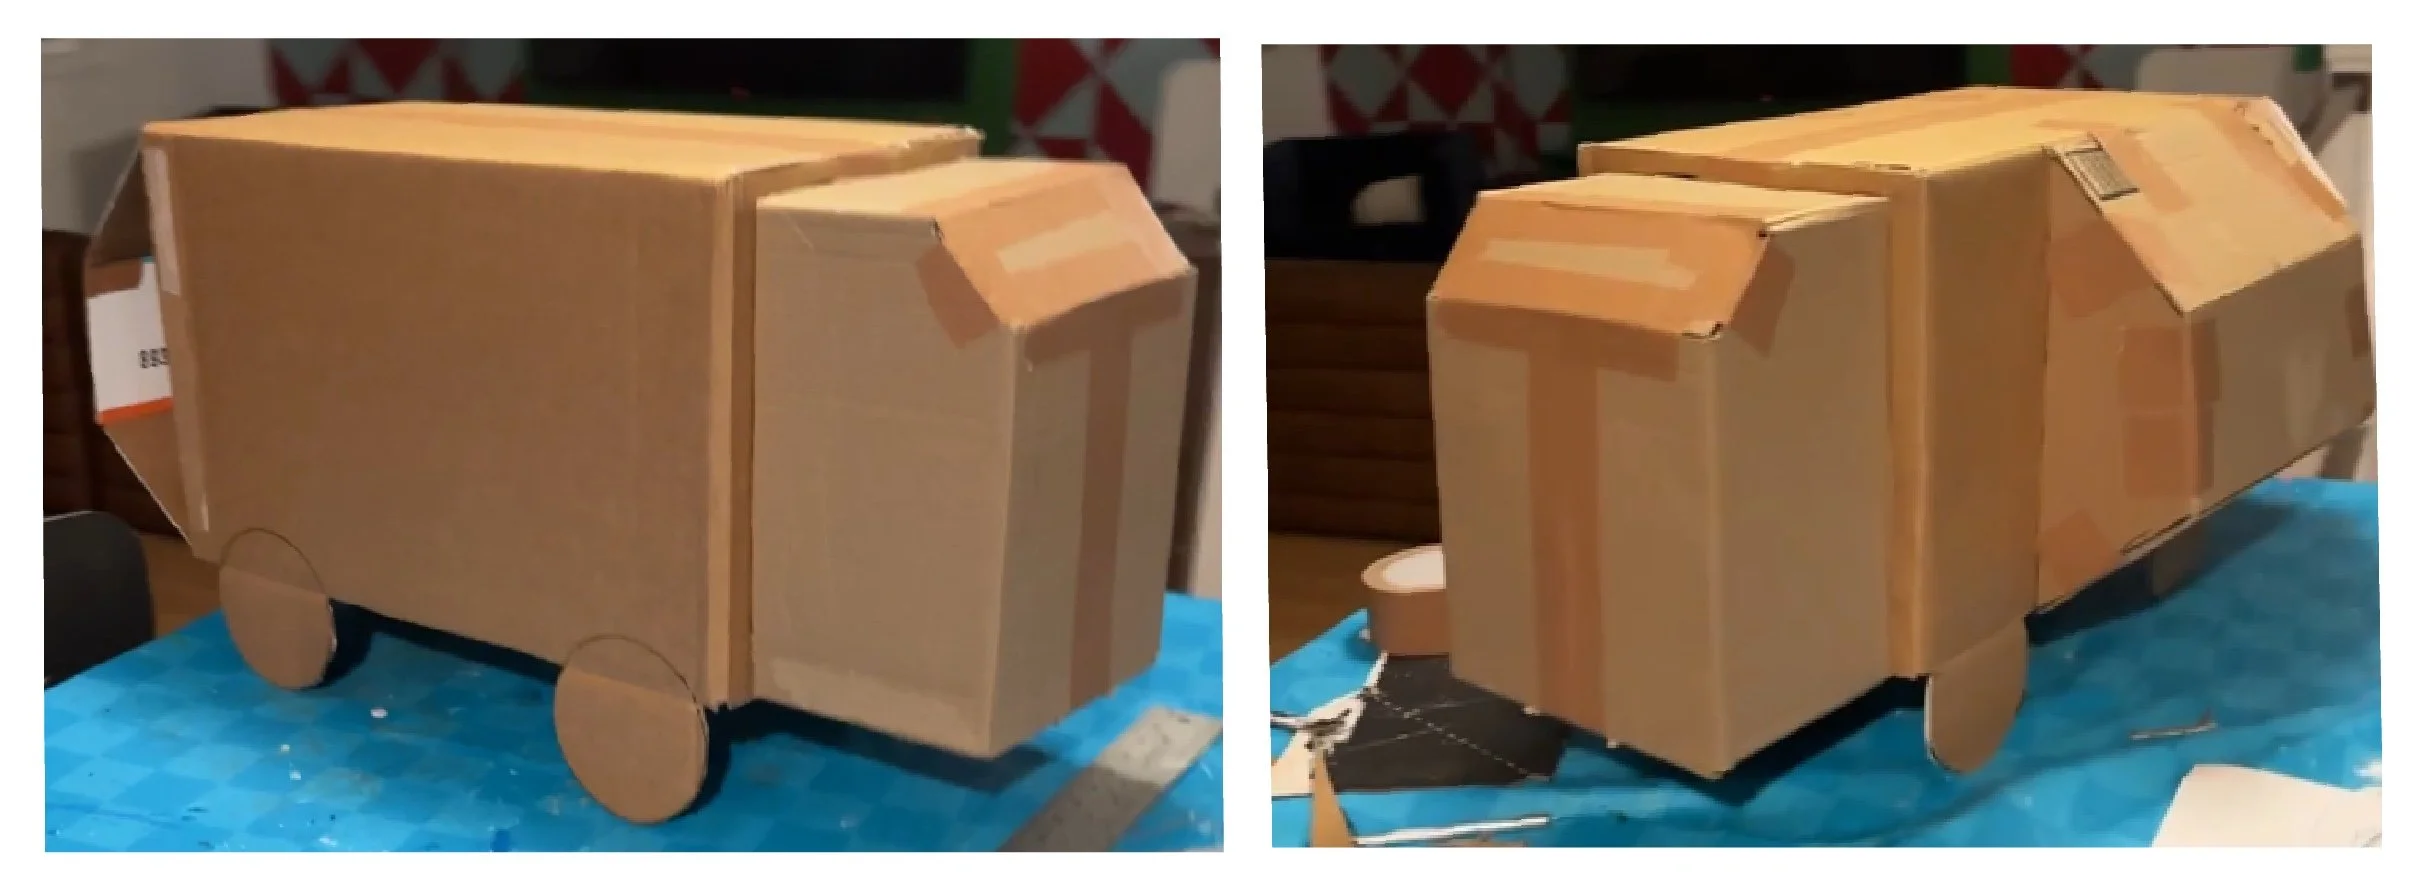
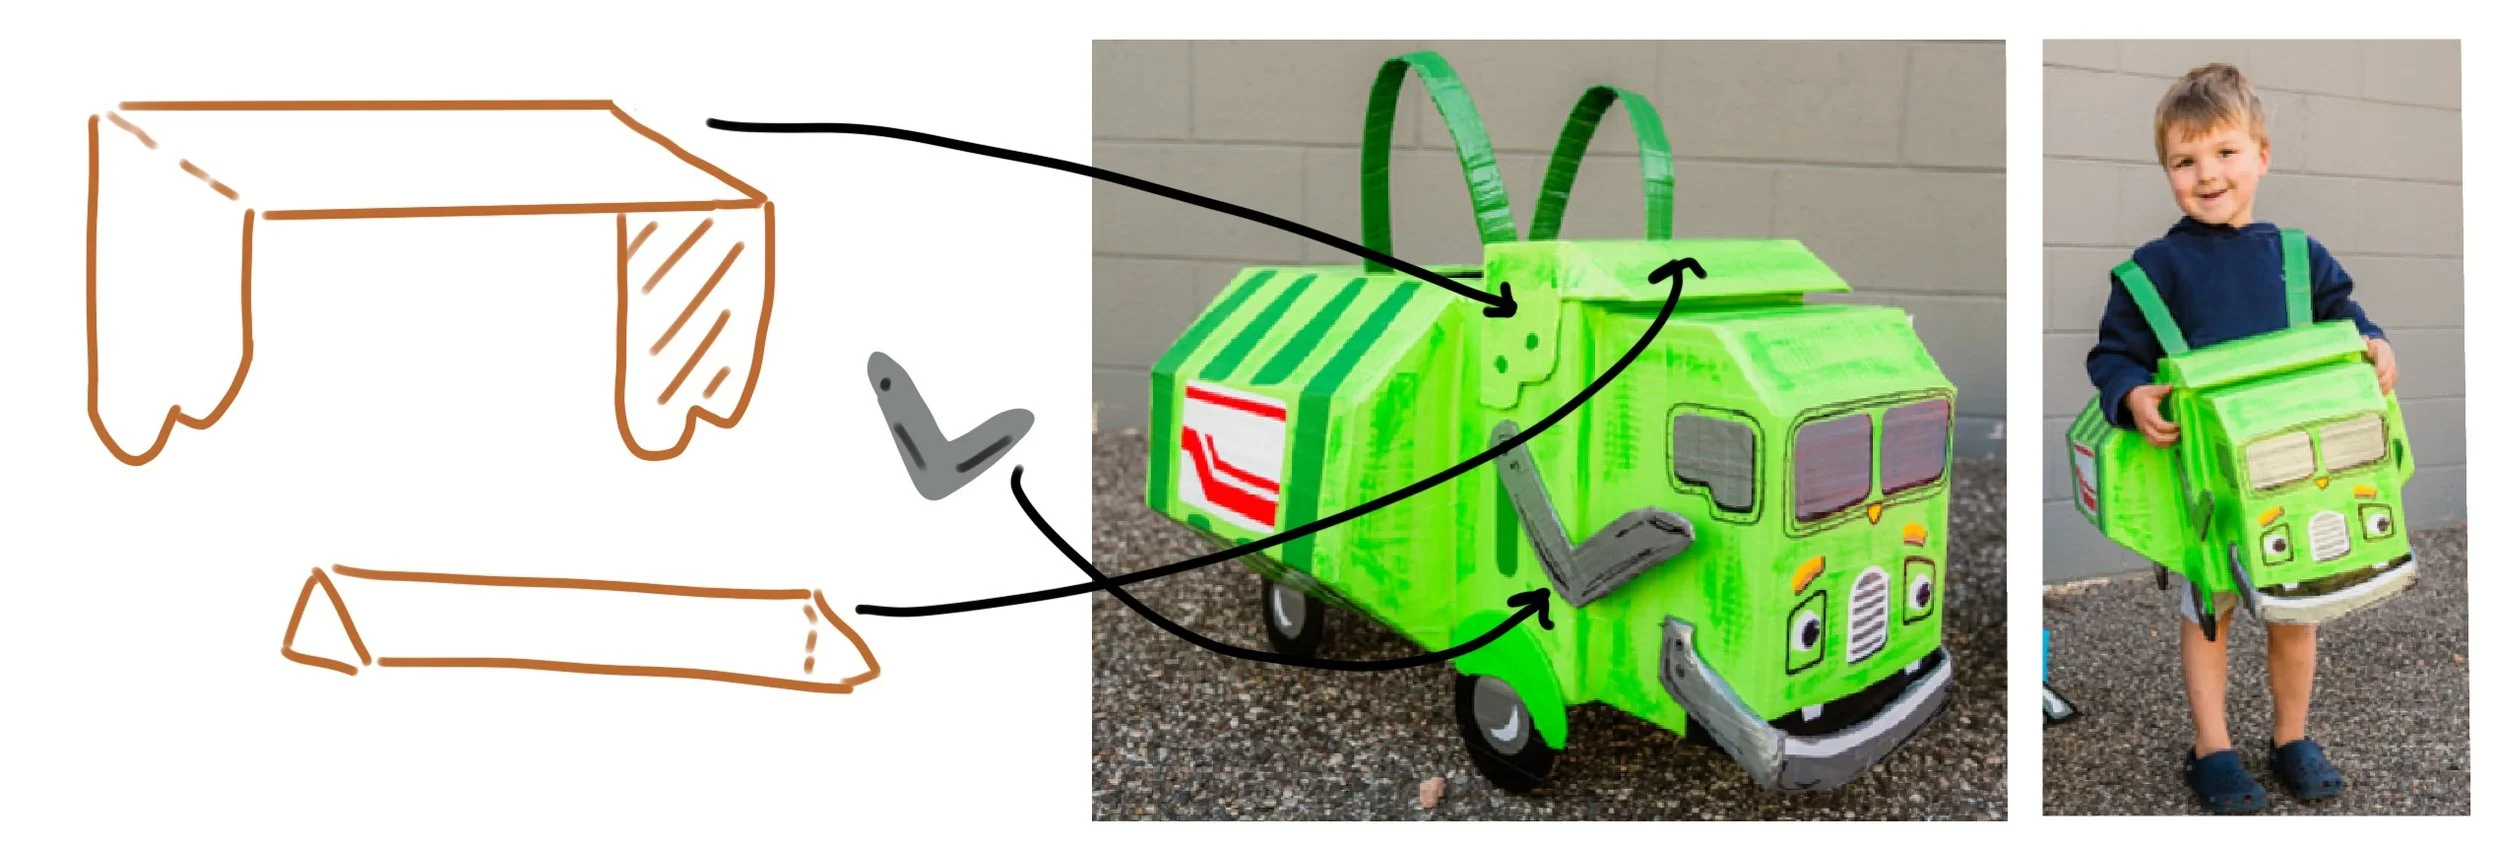
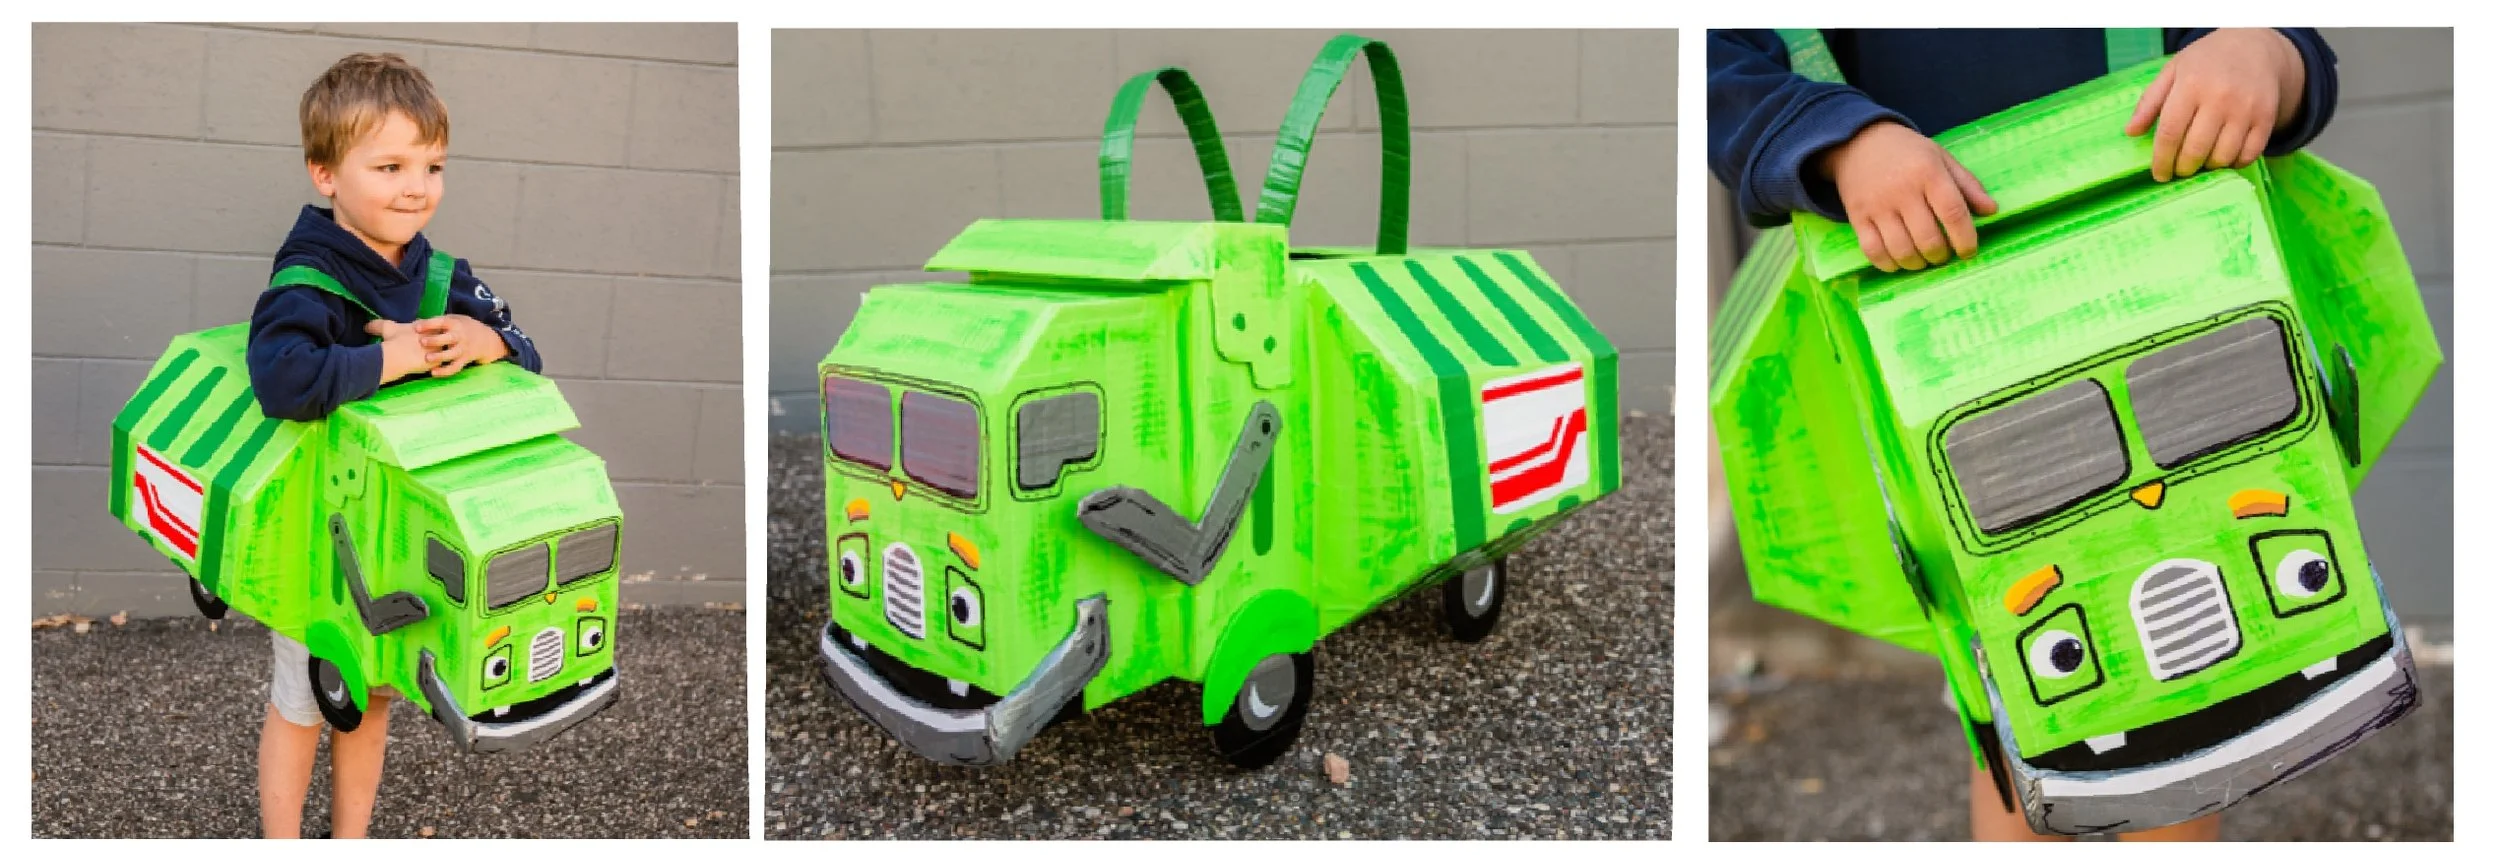
DIY Truck Costumes - Cardboard & Duct Tape

CUSTOMIZABLE CARDBOARD & DUCT TAPE COSTUMES !! <—- LINK

If you like making costumes - but are not a fan of the big influx of crafty stuff it creates — I got you. (Less is becoming so much more!!)

SO — Get this: Duct Tape and Cardboard Costumes. The materials aren’t going to blow the bank, it’s durable enough to last a few months (even with my 4 boys playing on the daily) and whatever you have left over are handy household items. Boom.

Anyways, I partnered with The Home Depot last Halloween - so full tutorial for different trucks / sizes / ages linked below. I’d LOVE to see or hear if you try!

Customizable Truck Costumes <————- FULL TUTORTIAL HERE!! Happy making! :)Em